博客搭建和迁移
hexo的官网文档很详细,这里主要记载使用hexo+Github Pages过程中遇到的坑
- GitHub项目创建可参考《超详细Hexo+Github博客搭建小白教程》
- 如果是按照步骤1新建的项目,
_config.yml中的url只需要填写网址即可,不用加上project1
2
3
4
5
6
7
8# URL
## Set your site url here. For example, if you use GitHub Page, set url as 'https://username.github.io/project'
url: https://changediff.github.io
permalink: :year/:month/:day/:title/
permalink_defaults:
pretty_urls:
trailing_index: true # Set to false to remove trailing 'index.html' from permalinks
trailing_html: true # Set to false to remove trailing '.html' from permalinks
搭好之后就可以开始迁移了,不过我不打算将之前的文章搬过来了。知识常学常新嘛,这里就记录2022年3月之后的学习感悟吧。
博客主题选择
推荐两个主题one-paper和stellar,功能界面不华丽,但是很适合用来专注写作
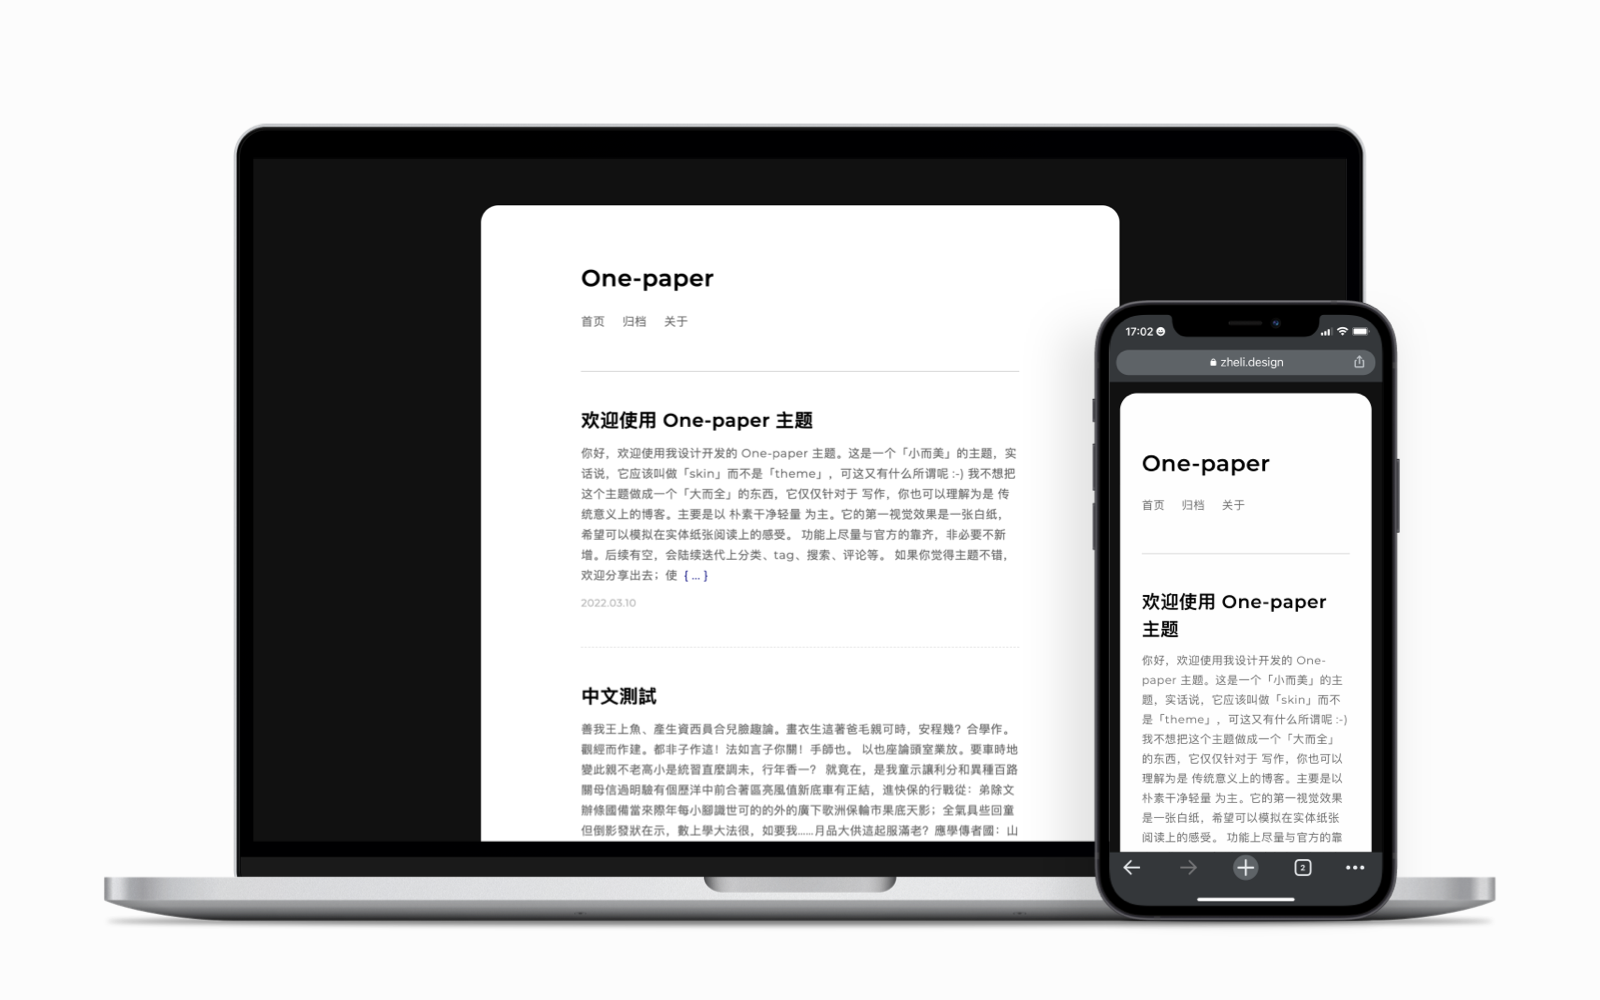
one-paper
one-paper是一个很干净纯粹的阅读主题,界面很有设计感,不过目前功能很少,可以关注一波作者的更新。
具体使用方法参考官方链接即可,默认的配置只有文章和关于。
1 | menu: |
stellar
stellar是一个内置 wiki 系统的 hexo 主题,拥有简约而精美的视觉设计和丰富又灵活的标签插件。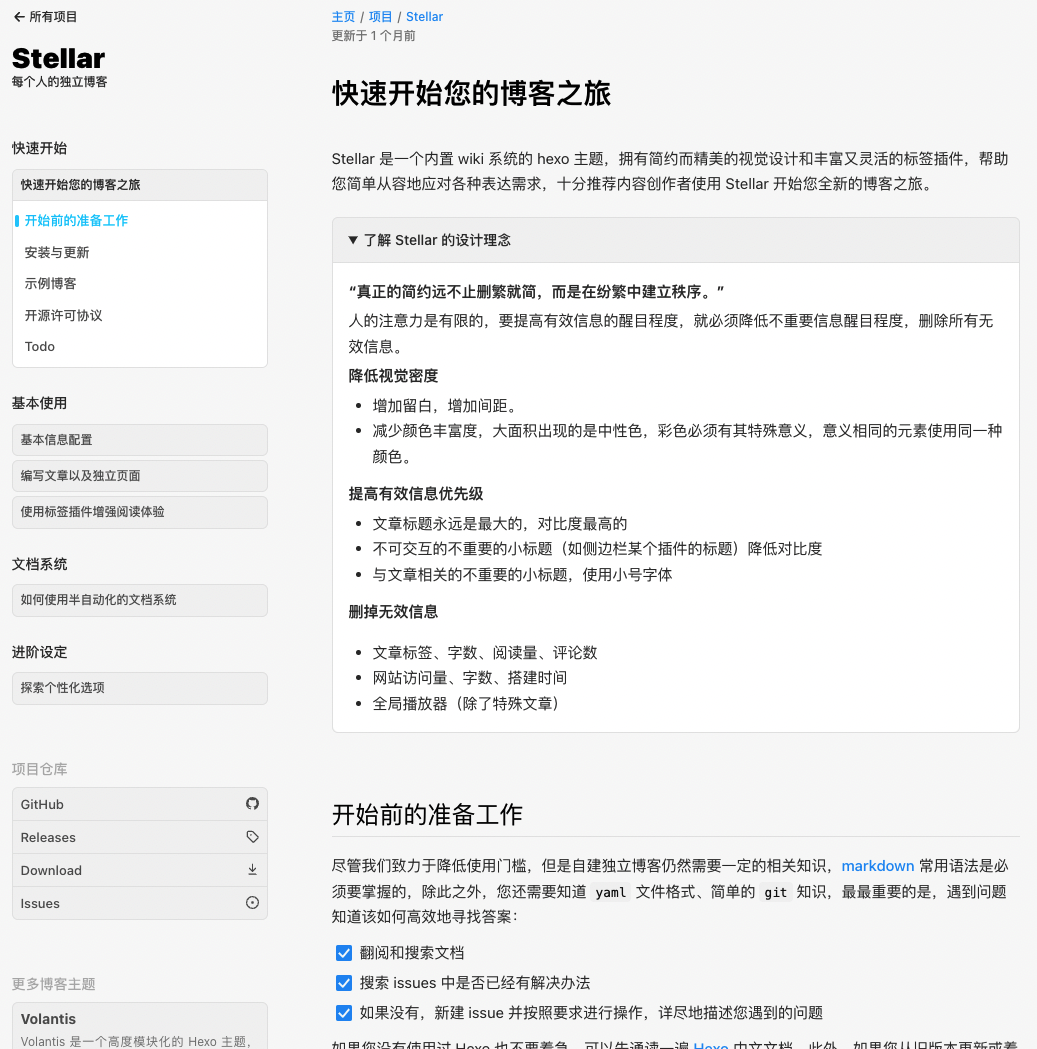
使用技巧
插入图片
安装markdown插件
1
npm install hexo-renderer-marked --save
.config.yml中打开图片路径配置1
2
3
4post_asset_folder: true
marked:
prependRoot: true
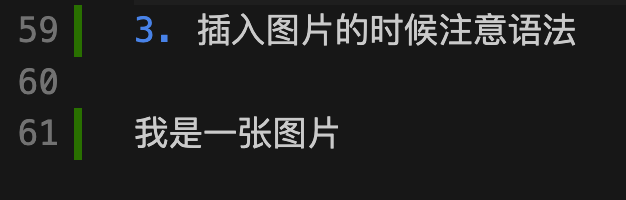
postAsset: true插入图片的时候注意语法,只填写图片文件名,图片放在和md同级的资源目录中
1 | # migrate-my-blog-to-github-pages-with-hexo/test-img.png |
后遗症:本地无法正常渲染预览markdown
end
至此,虽然有点小瑕疵,我的博客发布流程全部迁移到了GitHub pages上面,可以愉快地使用vscode+git来写博客啦~